![]()
As we all know, the factory Chevette radio is, well, pitiful. However, if I could locate a factory AM/FM stereo radio, I would probably use it. Below is the procedure I used to install an aftermarket radio. It may not be the best way to do it, but it turned out pretty well, and looks good.
First, it is difficult to obtain a "post" radio anymore, as they are
not plentiful new, and you don't see them for sale used very often. I managed to locate
about five post radios, but only really considered two of them, because I wanted a digital
tuner, digital clock, and a quality AM/FM cassette unit. I am installing a Sound Stream
radio, model TCA-20. I also have a Jensen XCC-7220 which is very similar in layout and
performance.
( Wal-Mart sells a very similar Jensen radio brand new ) If you don't already know this,
the "post holes" in the Chevette dash panel insert are very close together,
approximately 5 1/8" center to center. A lot of radios will not allow adjusting the
posts to this very small setting.
I was fortunate recently in locating a dash insert that was the same maroon color as my interior that had a defroster switch. Also, it had not been "hacked" on as severely as a lot of the Chevette inserts that I see ( I think every Chevette has had the radio changed ! ), so this enabled me to more closely "fit" my new radio to the radio opening. Usually I dislike radio coverplates, but I wanted the job to look good, and the radio would have looked mildly goofy without one in my case.
One of the biggest problems to overcome when installing an aftermarket radio is to get the depth right, so that the radio doesn't stick out too far, or is too recessed. I found some plastic "spacers" that I was able to cut to the correct length to be able to space the radio correctly. In my case, the correct length was 9/16" .
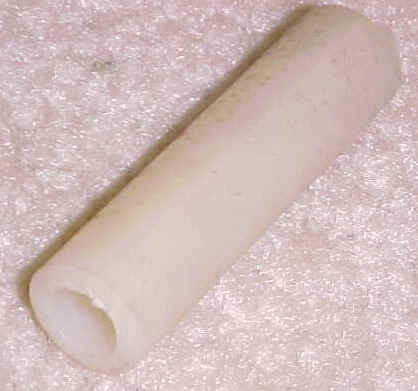 |
I don't know what these were originally, but they make great spacers ! | And this is what they look like in place | 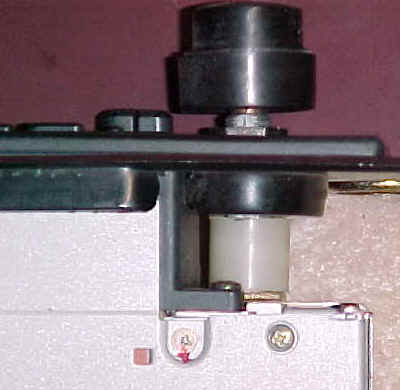 |
The finished product:
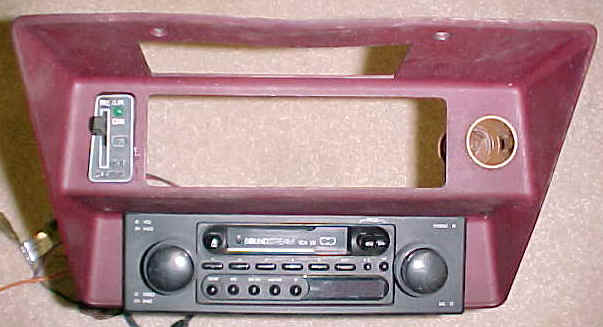
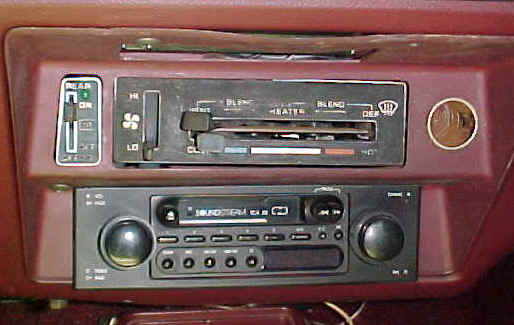
The photo on the left is before installation into the car, and the right is the
finished product. As it turns out, there is very little if any clearance for a
"large" radio housing. Although this radio does not actually have a large
housing, it does butt up against the heater ducting. Very tight fit !
I'm planning on using a pair of 6X9 carpeted speaker boxes laying in the back for now, as
much as I hate them. There simply is no room in the back paneling for a "good"
set of speakers.